In many instances, the vehicle's odometer and engine hours cannot be obtained directly from the vehicle via connection to the CAN Bus. In such cases, odometer and engine hour readings can be manually entered to synchronize with the vehicle's calculated values.
CTM-ONE can be accessed via Wi-Fi or Ethernet. Access may be limited based on modem or network configuration.
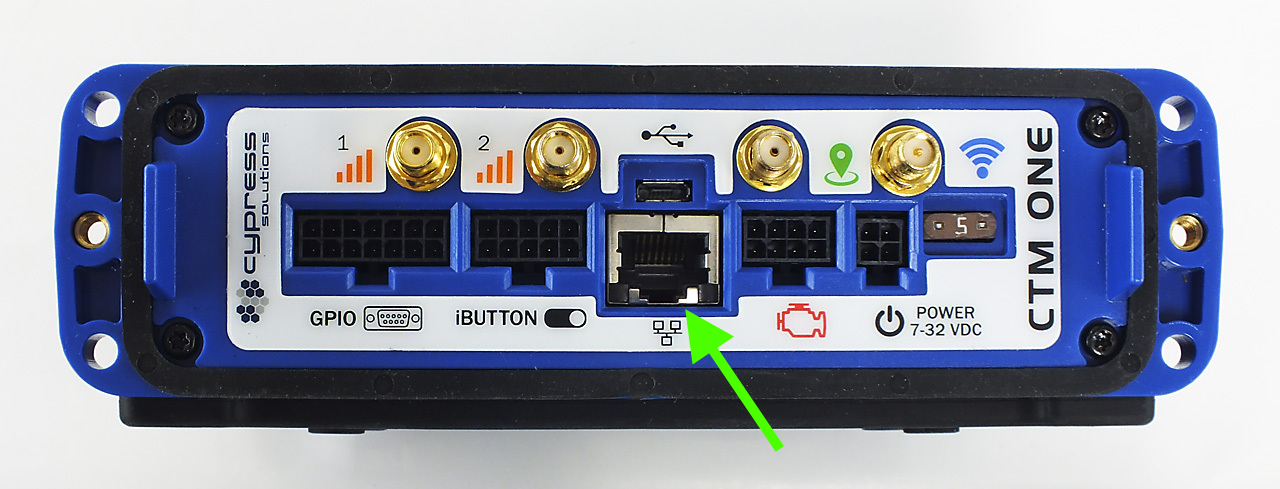
Access via local Ethernet cable
Proceed to the vehicle with the CTM-ONE installed and connect the device via Wi-Fi or Ethernet.
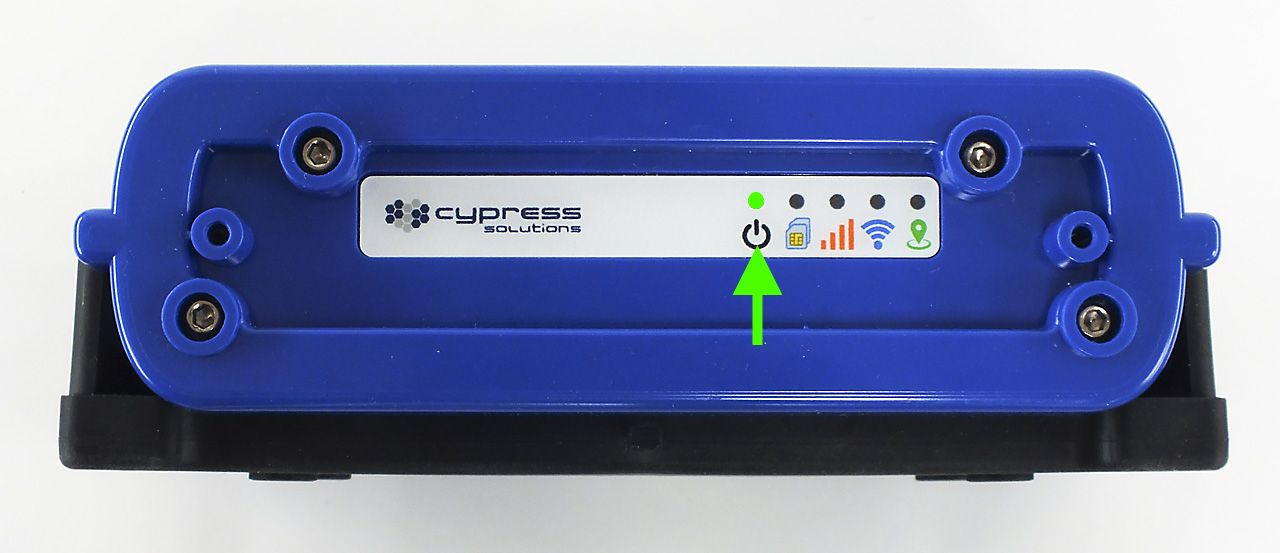
The modem power LED must be solid green in order to access the modem. The LEDs for SIM, cellular, Wif-Fi and GPS(GNSS) will be flashing or lit.
Open a browser on the laptop and enter the IP address: https://192.168.1.1 or https://169.254.0.1 (for >1.4.x FW). Upon successful connection, you will be directed to the CTM-ONE dashboard and prompted to log in.

Depending on the firmware version, upon initial login, you might be prompted to change the default password that came with the modem. This password is usually printed on the label of the CTM-ONE.
The CTM-ONE’s password can be pre-configured prior to shipping. For further details, please contact Cypress Solutions.
Select Installer from the left-side menu.

Locate the buttons at the bottom of the Installer page: Set Odometer Value and Set Engine Hours Value.

Odometer Value:
Press Set Odometer Value button
The value entered should be in kilometers, to convert from miles to kilometers multiply miles by 1.609
b. Enter an odometer value.
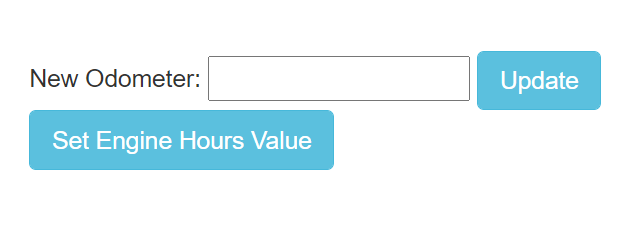
c. Press the Update button.
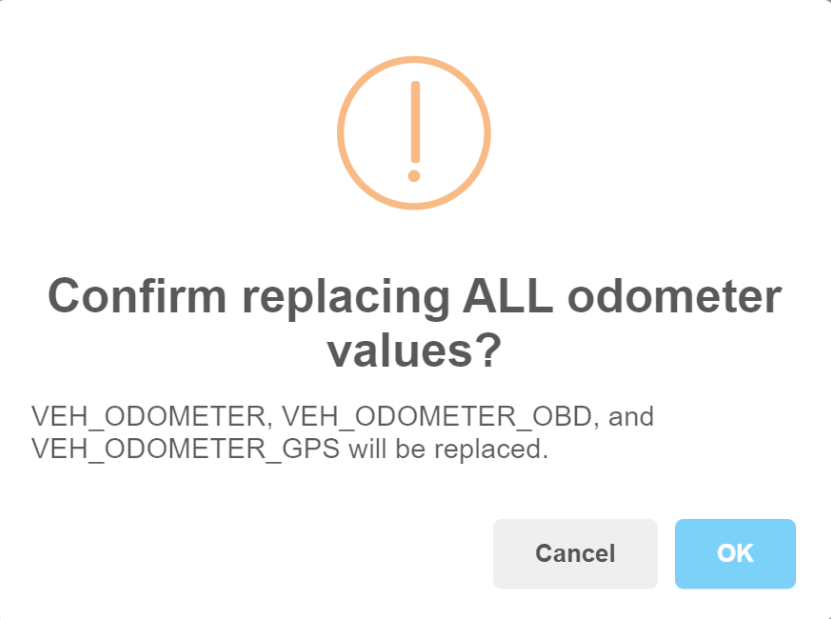
d. Press the OK button.
e. After completion a message will appear in the upper right corner.

Engine Hours:
Press Set Engine Hours Value button.
Enter an engine hours value.
Press the Update button.

Confirm by pressing OK button.
After completion, a message will appear in the upper right corner.
Add Comment